
Field Care
The quality of your finished mount is determined largely by the way the specimen is cared for in the field. The following information will help you provide proper field care for your specimen. If you have a specific question that is not answered by the information below, please contact me. In the view of the many factors which have a very definite effect on the final results of tanning and/or mounting, such as primeness, general condition of specimen, climatic conditions, and lack of knowledge and facilities in the field by the individual, I assume no responsibility or guarantee the results of any finished specimen.
Note: Always bring all appropriate tags and licenses with your trophies upon dropoff.
Importation Restrictions
For those who plan to hunt outside of Michigan, it is important to note that regulations related to the importation of harvested cervids (deer, elk or moose) have changed substantially. Hunters who harvest a cervid in any other state or province can bring back only the following into Michigan:
Hides/capes
Deboned meat
Quarters (legs, including leg bones, that do not have any part of the spinal column or head attached).
Finished taxidermy products
Cleaned Elk ivories or other teeth
Antlers
Antlers attached to a skullcap cleaned of brain and muscle tissue
Please contact me prior to your hunt if you have any questions regarding this procedure. Also, please contact me and I will provide you with the measurements that need to be taken in the field prior to skinning and caping.
Small Game
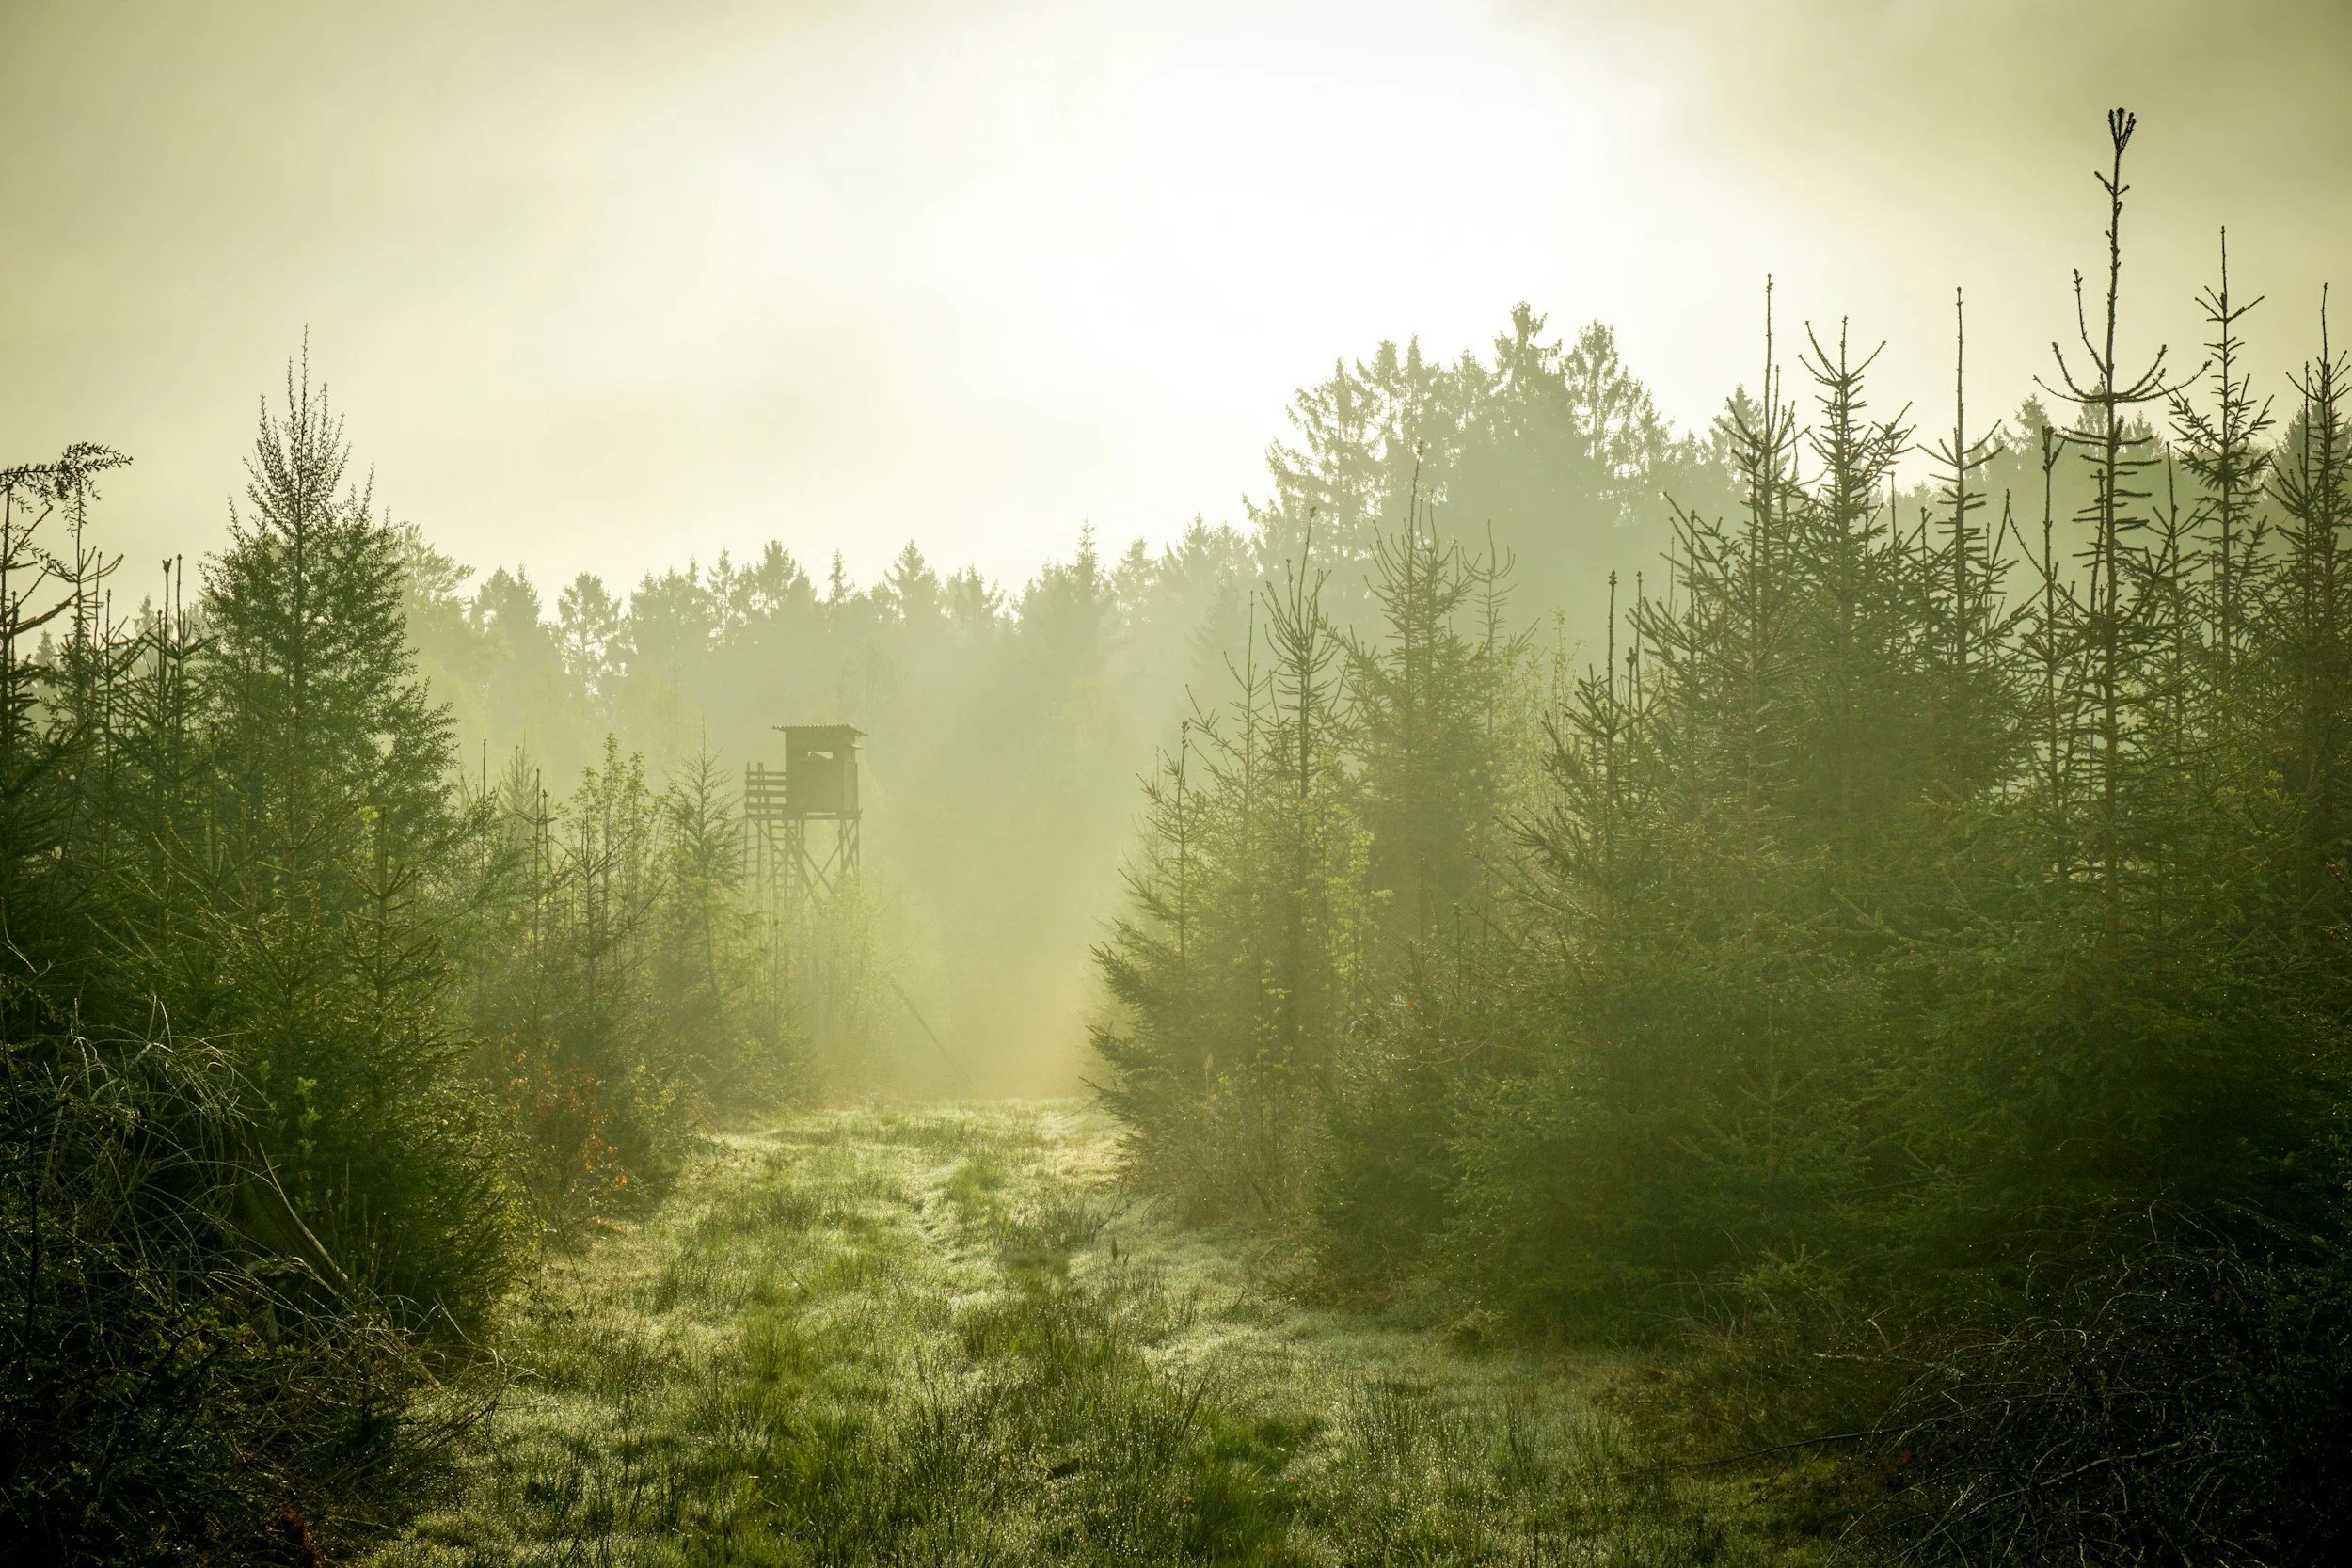
First and foremost, do not gut the animal. If you cannot immediately bring your animal to the taxidermist, prep it for freezing by removing any excess blood with a paper towel and cool the specimen as quickly as possible. Once the specimen is completely cooled, place the specimen in a plastic bag and seal it. Never place a warm animal in a plastic bag or it will spoil. Double bag the animal and place in the freezer. Animals that are coyote-sized or smaller should not be skinned unless by a professional. Predators spoil rather quickly if not properly cared for because of their thin hide and strong internal bacteria.
Birds/Waterfowl
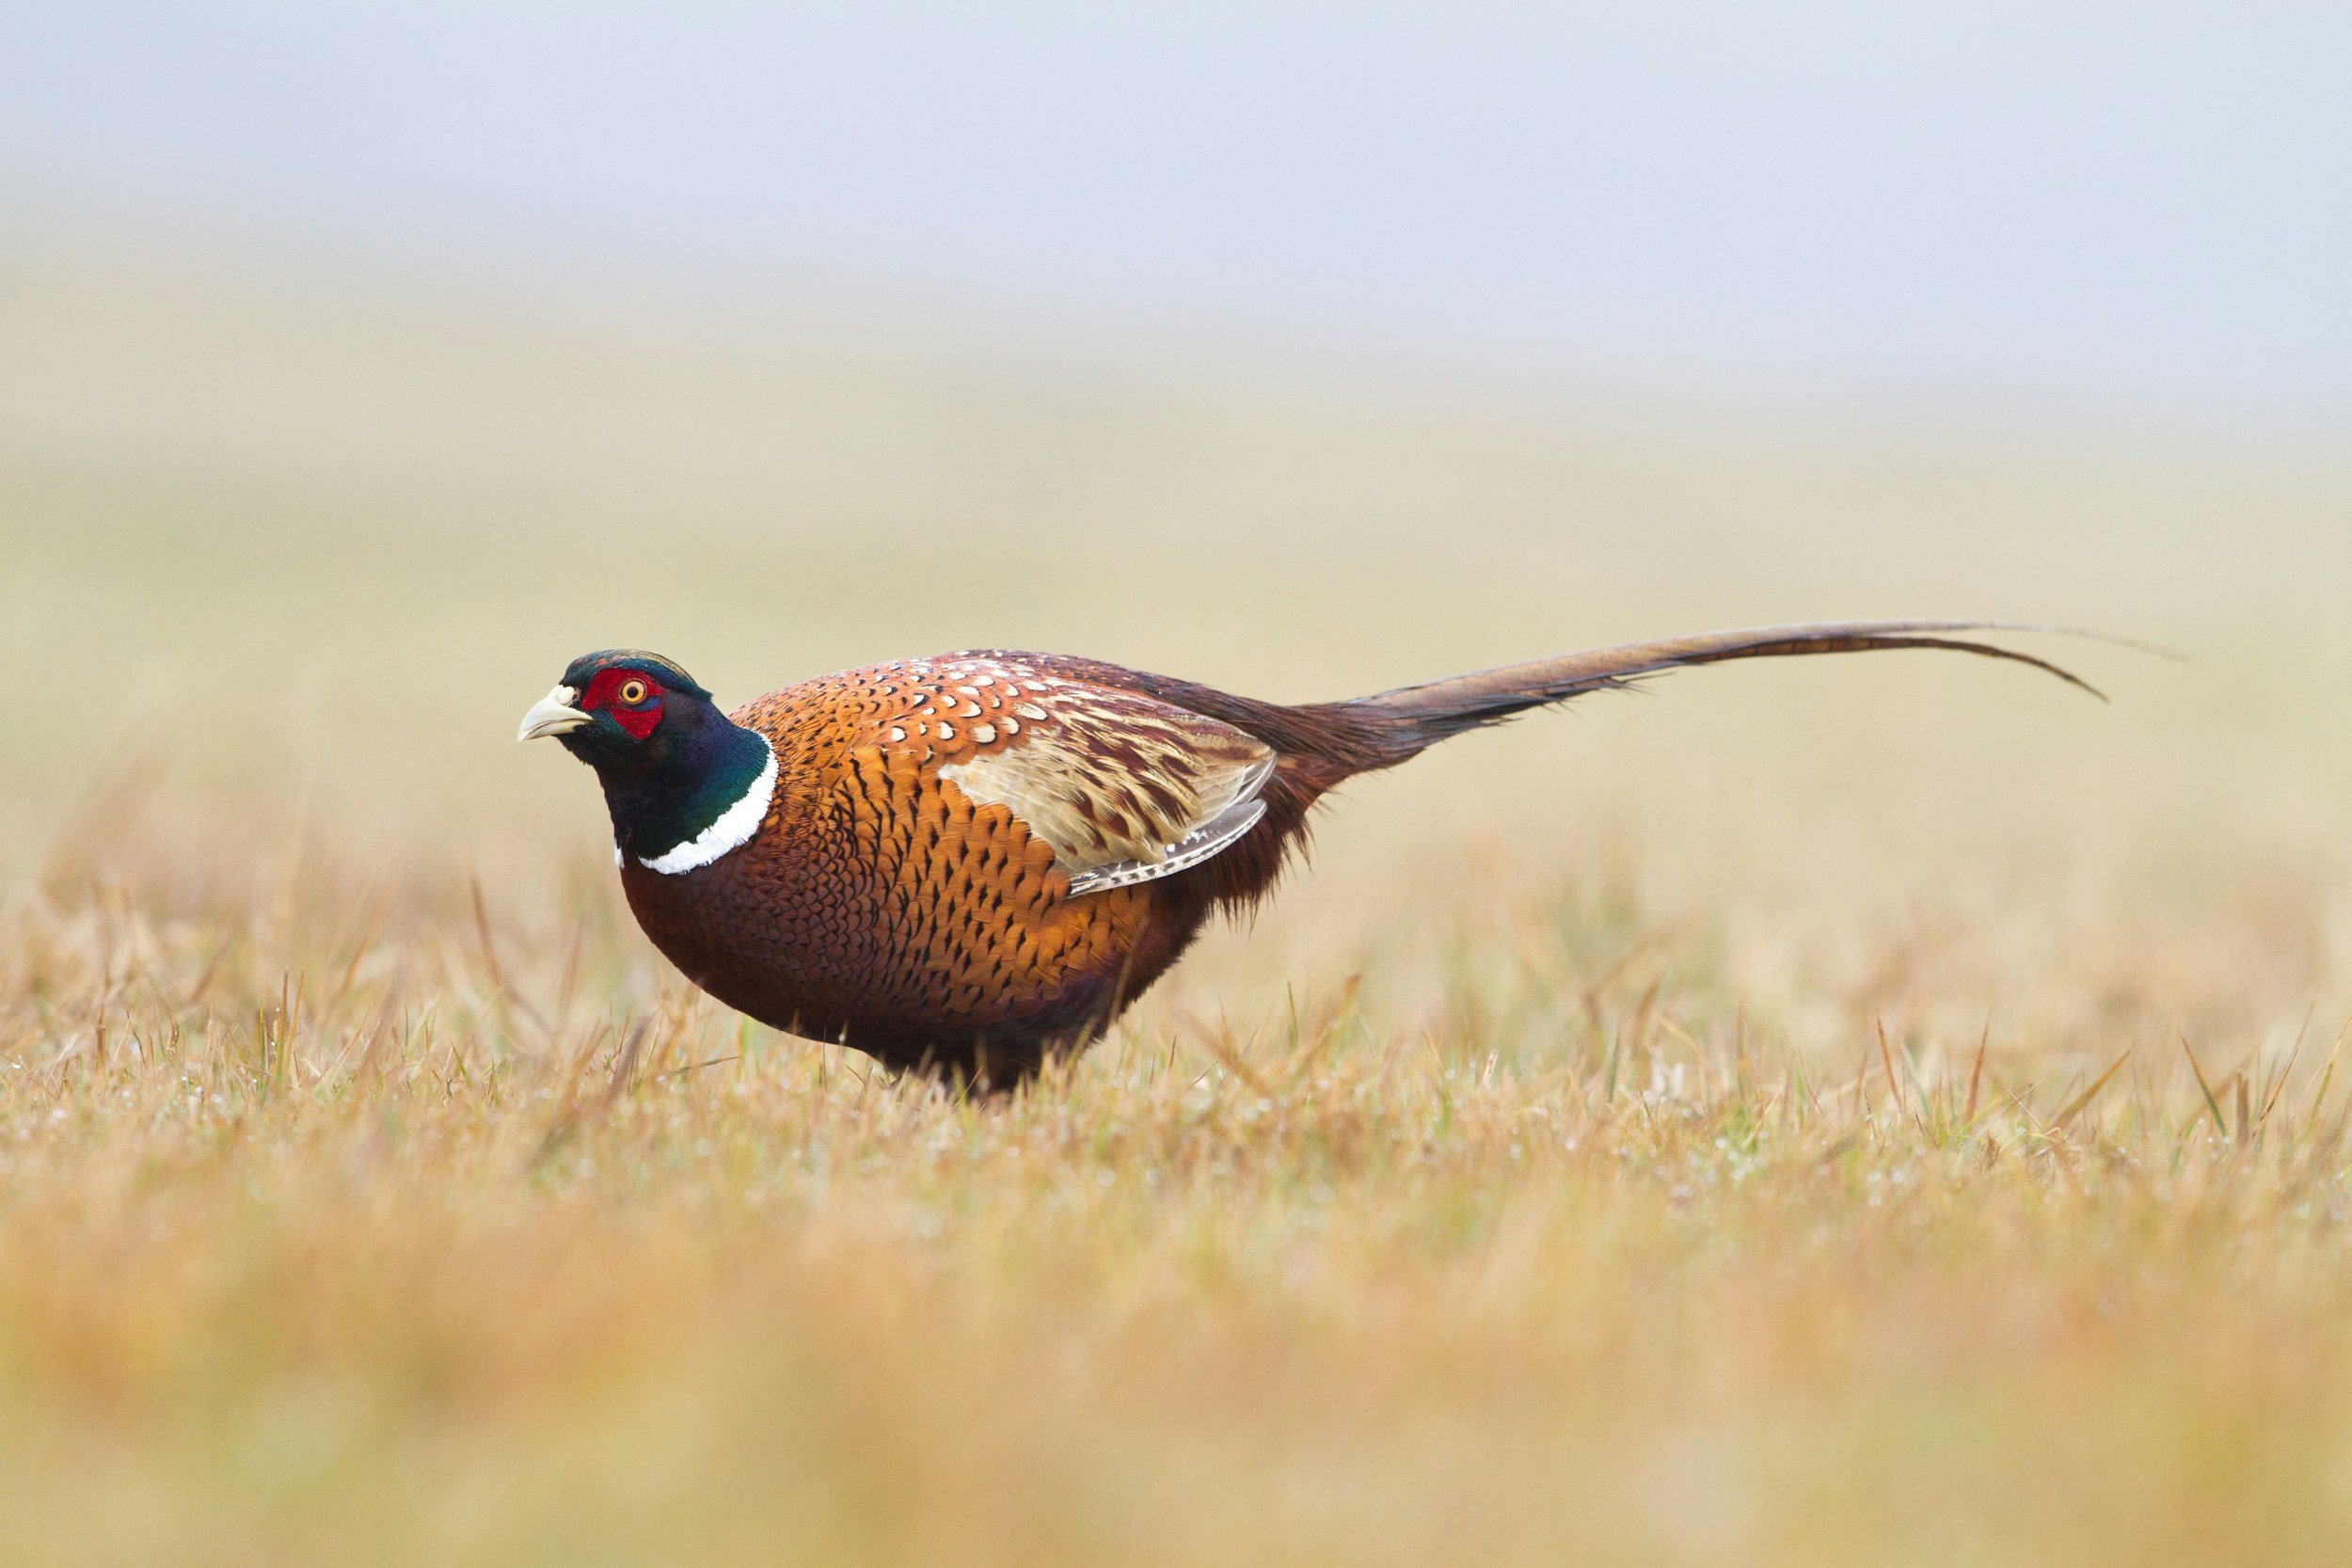
When selecting a bird for mounting, choose a bird with the best plumage and least amount of damage. Mature birds and those taken late in the winter season generally have the best plumage, however, birds with broken or damaged wings, legs or bills are still mountable and can produce beautiful results. Do not gut your bird and if you think you may have a bird mounted, carry it by the feet and legs rather than the head or neck. Allow your dog to handle the bird as little as possible. If feasible, retrieve it yourself. The feathers are the most important thing to keep protected. Keep your bird as clean and dry as possible in a cool place. If you cannot bring your bird immediately to the taxidermist, prep it for freezing by first wiping excessive blood off the feathers with a wet towel, then plug the throat with paper towel to prevent and fluids from leaking.
Wrap the head and feet in wet paper towels and place the bird in a plastic bag, squeezing as much air out as possible, then repeat the process with a second bag. Be careful not to damage the tail feathers. If the bird's tail feathers do not fit in the bag do not bend them. Let the tail stick out of the bag and tie the bag loosely around the tail.
Fish
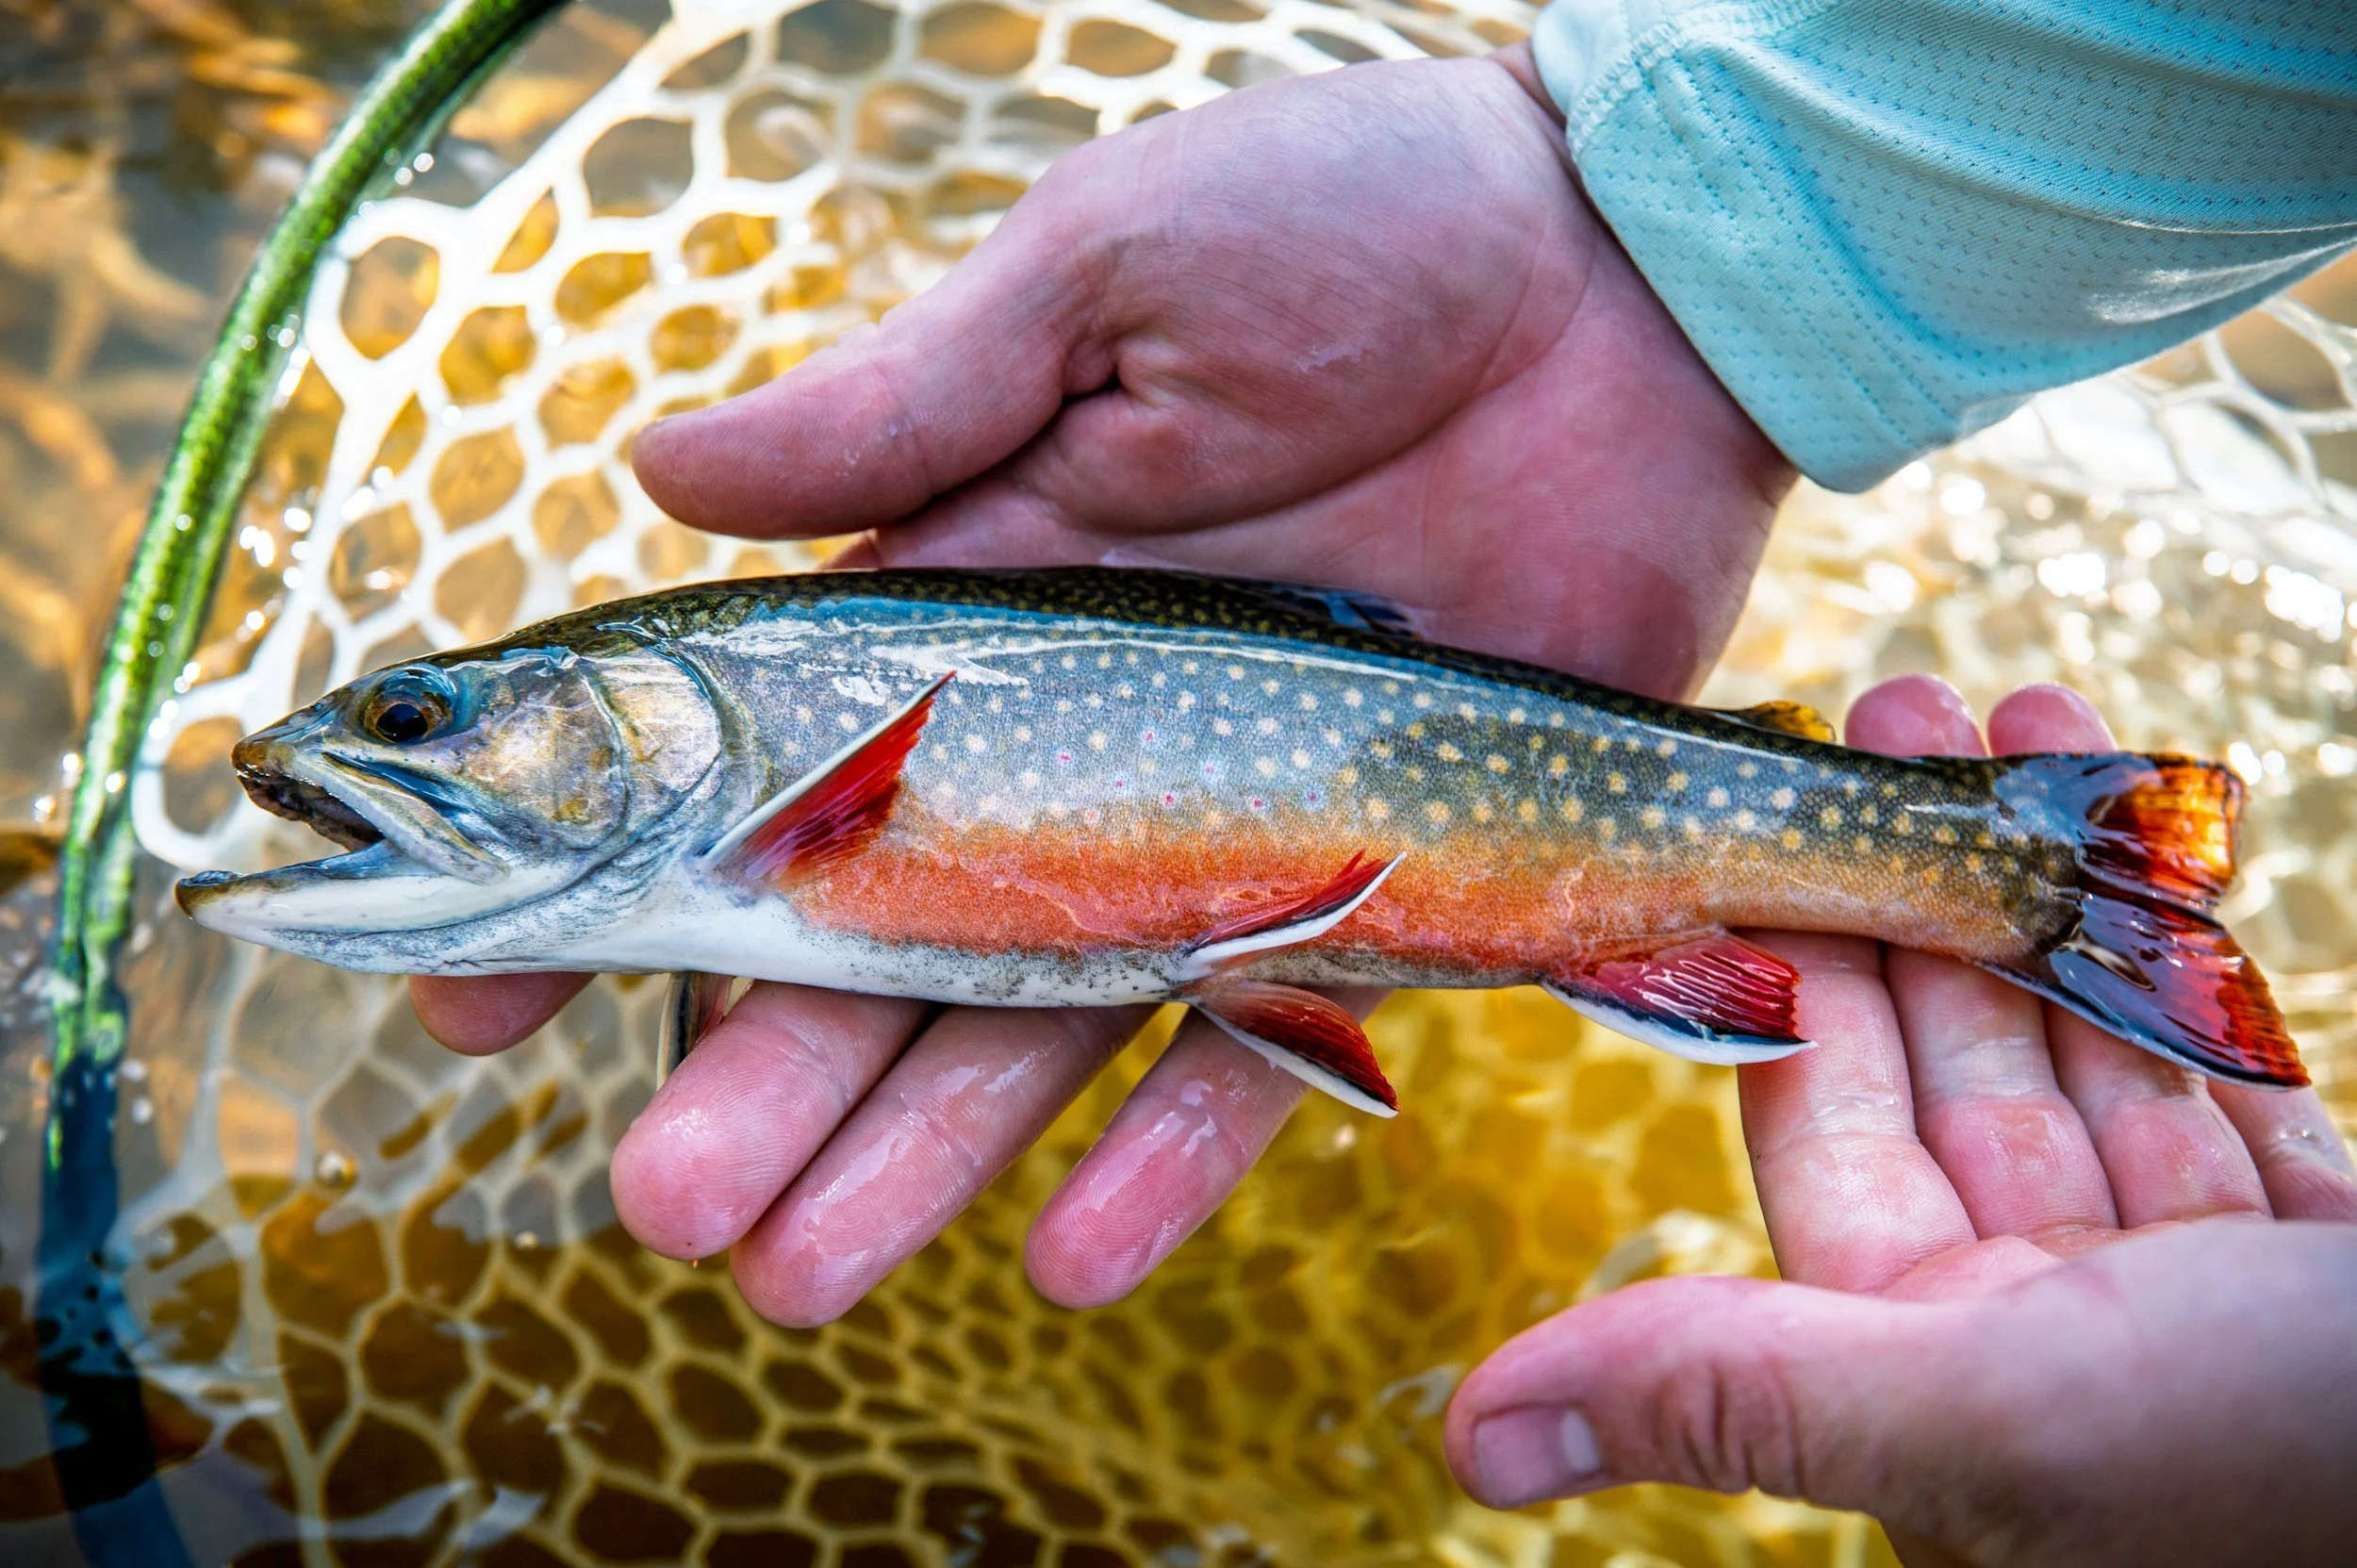
First and foremost, do not gut your fish. If possible, do not use a net to land your fish, doing so can cause unnecessary damage to fins and scales. A fish will loose its coloration shortly after being caught. If possible, a photograph taken immediately after the catch may help the taxidermist replicate the fish’s unique coloration as closely as possible. If you cannot immediately bring your fish to the taxidermist, prep it for freezing by laying the fish flat on a wet towel. Wrap the towel around the fish, keeping the fins flat against the body and taking care not to bend the tail. Roll it up in a plastic bag and lay flat in a freezer.
A fish properly wrapped in this manner will last for many months without being damaged by freezer burn. In some cases, fish that are freezer burned can still make beautiful mounts, but additional charges may apply to correct any damage that has been done. If you choose to have a reproduction made, prior to its release, measure the entire length of the fish from the nose to the tip of the tail along the body and measure the largest girth around its belly. If possible, take several color photos from different angles.
Large Game - Shoulder Mounts
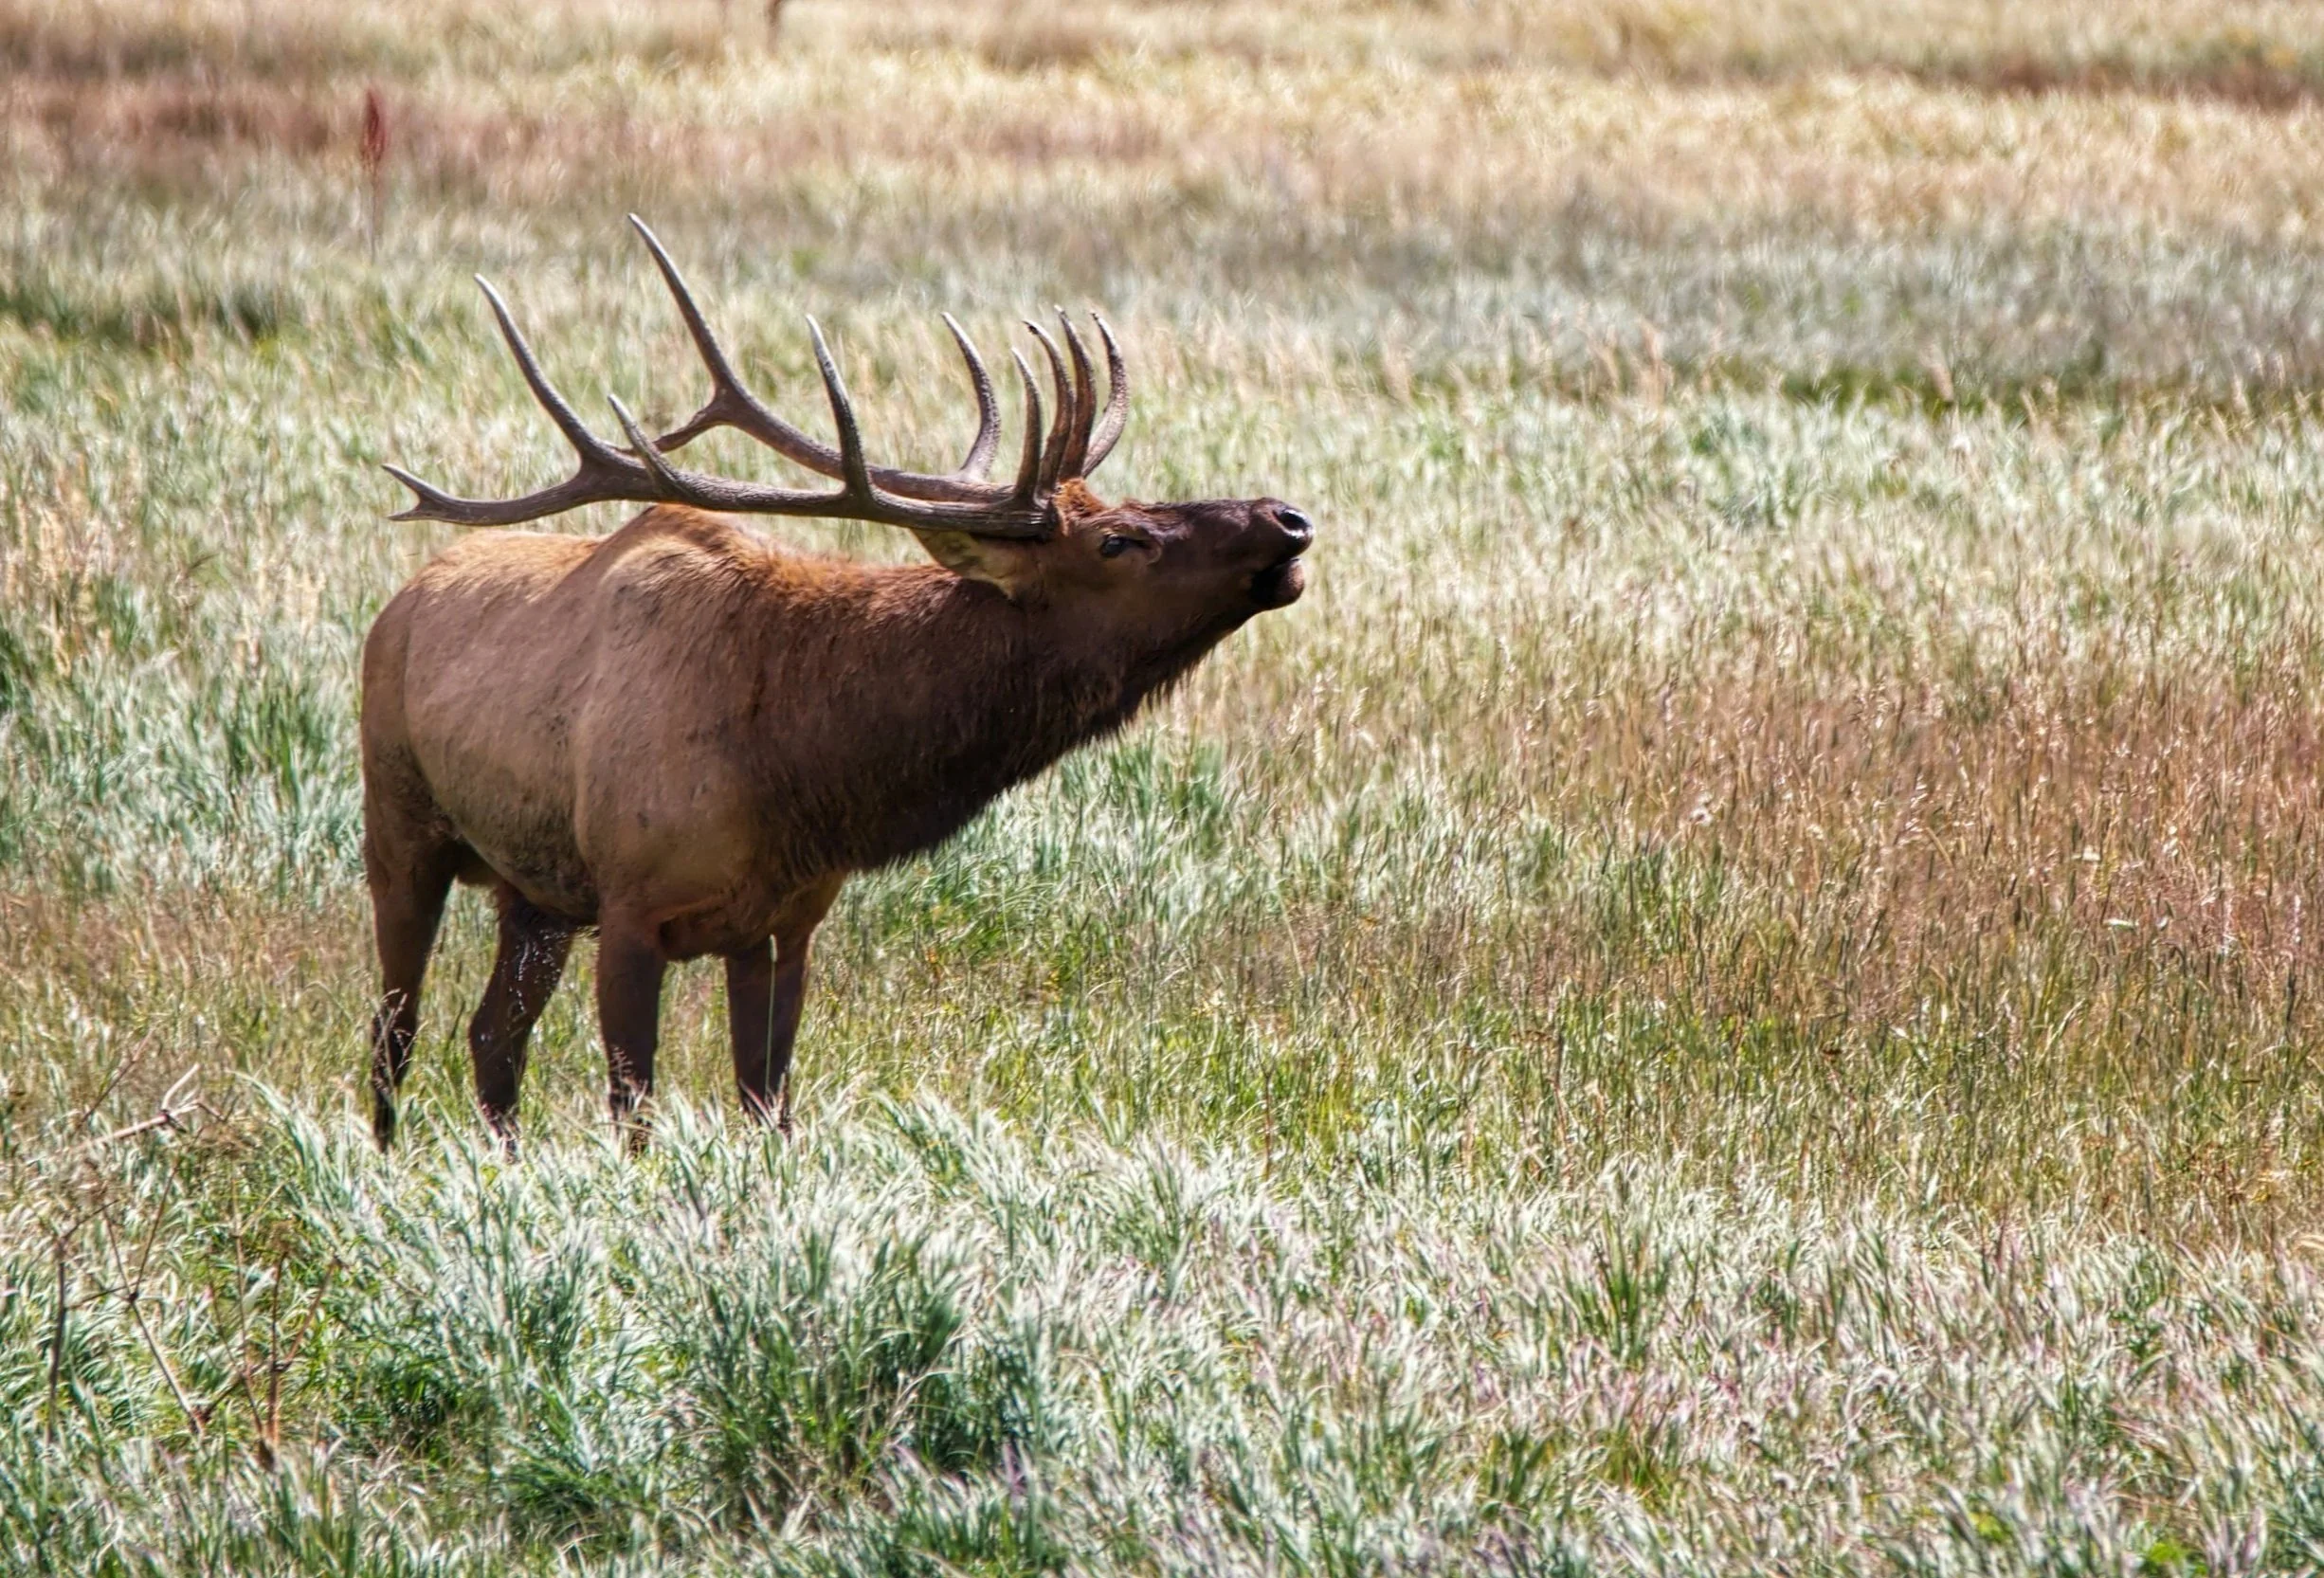
Although the weather may seem cool enough, deterioration of the skin can and will occur as long as the hide remains unfrozen. Bacteria growth on the skin will cause the hair to loosen from the skin and fall out, which is known as slippage. At best, the slippage will occur in an area that can be concealed in the finished mount. At worst, the entire cape is ruined and a replacement cape must be purchased. Caping is the process of skinning the head and shoulders of the animal; if you are not entirely confident in your abilities to cape your animal, please do not hesitate to call. This is best done BEFORE your hunt. The most difficult step in caping any animal is skinning out the head. If you have never done this procedure and are not completely confident in your abilities, let somebody experienced do it for you. The logic to bear in mind is that, provided the weather is cold or the cape is refrigerated or frozen and will delivered to the taxidermist within a day or two, it is better to leave this task undone than to let inexperienced hands attempt it. Damage to the face and head area will compromise the quality of the finished product. While most blemishes can be skillfully corrected, certain damage will be visible no matter what repairs are made. Once the process is complete, remove any excess meat and fat present on the hide without making any accidental cuts. Fold your cape skin to skin to keep it from drying out. If the head has not been skinned out, do not roll the head inside the cape. Keep the cape cool and get it to your taxidermist as soon as possible. If unable to bring the cape to the taxidermist for an extended period, the cape should be double bagged and frozen.
When preparing your trophy for a shoulder mount it is important to field dress and cool the carcass as quickly as possible. When field dressing your trophy, DO NOT CUT THE SKIN PAST THE BREAST BONE. In addition, DO NOT CUT THE THROAT or punch the ears for tagging. If you must drag the animal do so by the front legs or the antlers, but never by the hind legs. If you hang your animal, do so by the hind legs and if you must leave the animals lying on the ground, make sure to prop it up to allow air to circulate under it. As soon as your trophy is dead, bacteria begins to grow. Since heat and moisture create an ideal environment for bacteria, it is imperative to keep the carcass cool and to avoid prolonged hanging of the carcass with the hide on.
Large Game - ¾ or Lifesize Mounts
If you prefer a lifesize or 3/4 mount, the dorsal cut is preferred. A professional processor will handle this task for you, but if you are knowledgeable and confident in your abilities, this is done by making an incision from the base of the tail to a point in between the front shoulders. Remove the skin from the body from the center of the back up towards the head and down the sides of the animals towards the belly. Once you reach the base of the head, sever the head from the neck. As you skin down the legs, move slowly and be careful not to cut the thin hide in the armpits as well as inside the back legs and around the genitals. Sever the legs at the wrist or elbow. Always remove as much excess meat and fat present on the hide carefully without cutting the hide. Be sure to cool the hide as soon as possible. If possible, deliver to the taxidermist right away or double bag and freeze the skin once it has completely cooled. Do not roll up the hide if it is warm as the hair or fur will insulate the skin and not allow it to cool or freeze efficiently. This will allow bacteria growth on the skin which will cause the hair to loosen from the skin and fall out, which is known as slippage. At best, the slippage will occur in an area that can be concealed in the finished mount. At worst, the entire cape is ruined and a replacement skin must be purchased. Bears will begin the hair slipping process much faster than other game animals so be sure to care for them properly and efficiently.
Rugs
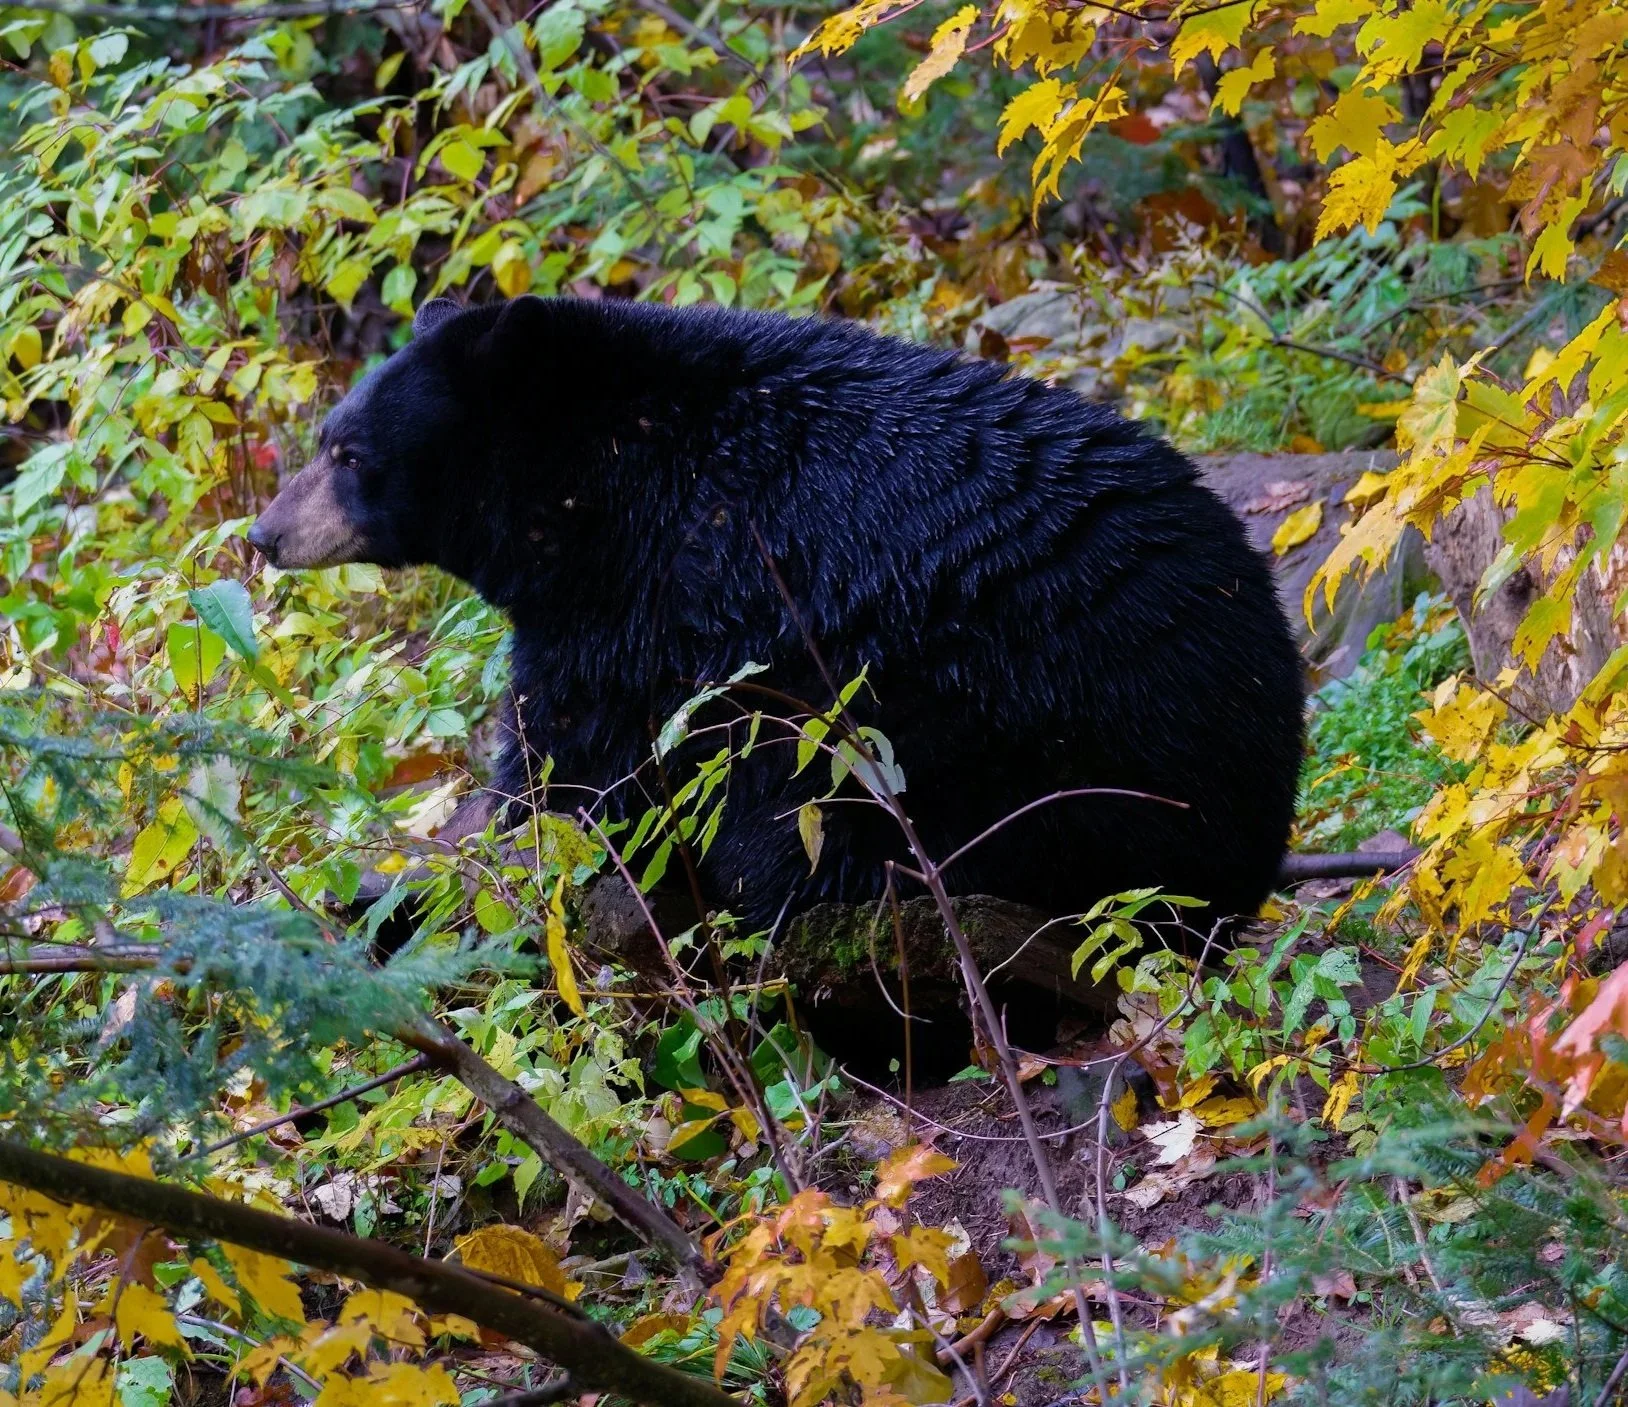
If you would like a rug made from your trophy, the ventral cut is preferred. A professional processor will handle this task for you, but if you are knowledgeable and confident in your abilities, this is done by making an incision from the base of the tail in a straight line to a point in the center of the chest between the front legs. On each of the front legs, cut down the front of the leg from the paw pad in a straight line to meet the end of the incision on the chest at a 90-degree angle. For the rear legs cut from the back of the paw pad along the rear of the leg to meet the end of the belly incision at the base of the tail. Be sure to cool the hide as soon as possible. Double bag and freeze the skin only once it has cooled, or, if possible deliver to the taxidermist. Do not roll up the hide if it is warm as the hair or fur will insulate the skin and not allow it to cool or freeze efficiently. This will allow bacteria growth on the skin which will cause the hair to loosen from the skin and fall out, which is known as slippage. At best, the slippage will occur in an area that can be concealed in the finished mount. At worst, the entire cape is ruined and a replacement cape must be purchased. Bears will begin the hair slipping process much faster than other game animals so be sure to care for them properly and efficiently.